ウェブサービスではよくA/Bテストやっているのを見かけますが、ネイティブのiOSとかAndroidアプリではあまり見かけませんよね。
だって面倒だし!
いやいやちょっと待ってください、iOSならSkyLabが便利ですよ!
まさに、iOSやMacのアプリでA/Bテストを簡単に実現するライブラリです。
使い方は簡単。以下に例を説明しますね!
単純に2パターンでテスト
// Simple A/B Test
[SkyLab abTestWithName:@"Title" A:^{
    self.titleLabel.text = NSLocalizedString(@"Hello, World!", nil);
} B:^{
    self.titleLabel.text = NSLocalizedString(@"Greetings, Planet!", nil);
}];
3パターン以上で各パターンが選ばれる確率を指定する
// Split Test with Weighted Probabilities
[SkyLab splitTestWithName:@"Subtitle" choices:@{
    @"Red" : @(0.15),
    @"Green" : @(0.10),
    @"Blue" : @(0.50),
    @"Purple" : @(0.25)
 } block:^(id choice) {
     self.subtitleLabel.text = NSLocalizedString(@"Please Enjoy This Colorful Message", nil);

     if ([choice isEqualToString:@"Red"]) {
         self.subtitleLabel.textColor = [UIColor redColor];
     } else if ([choice isEqualToString:@"Green"]) {
         self.subtitleLabel.textColor = [UIColor greenColor];
     } else if ([choice isEqualToString:@"Blue"]) {
         self.subtitleLabel.textColor = [UIColor blueColor];
     } else if ([choice isEqualToString:@"Purple"]) {
         self.subtitleLabel.textColor = [UIColor purpleColor];
     }
}];
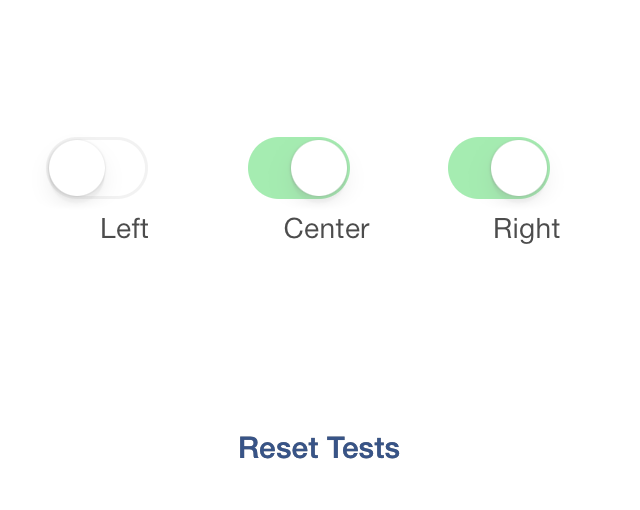
フラグを確率的に立てる
#!objectivec
// Multivariate Test
[SkyLab multivariateTestWithName:@"Switches" variables:@{
    @"Left" : @(0.5),
    @"Center" : @(0.5),
    @"Right" : @(0.5)
 } block:^(NSSet *activeVariables) {
     self.leftSwitch.on = [activeVariables containsObject:@"Left"];
     self.centerSwitch.on = [activeVariables containsObject:@"Center"];
     self.rightSwitch.on = [activeVariables containsObject:@"Right"];
}];
これで、画面遷移を確率的に変更したりといったテストが簡単にできますね!!
![[iOS] チップスの吹き出しを簡単に表示する方法](../../../../../odoruinu.files.wordpress.com/2013/12/687474703a2f2f6661726d352e7374617469632e666c69636b722e636f6d2f343030352f353139313634313033305f326239336134613535392e6a7067ae1c.jpg?w=266&h=500&crop=1)